Agency | CREATE.GROUP
AR Script | Aljohara Saeed, Programming and Campaigns Manager at DGDA
EN Script | Mostafa Adelameen, Create. Group
Voice Over | Khalid Abdulaziz
Art Direction | Nourhan Abdel-Hamid
Animation | Pach Valenzona
Agency | CREATE.GROUP
AR Script | Aljohara Saeed, Programming and Campaigns Manager at DGDA
EN Script | Mostafa Adelameen, Create. Group
Voice Over | Khalid Abdulaziz
Art Direction | Nourhan Abdel-Hamid
Animation | Pach Valenzona
Project Management |
Dana Azem, Business Director
Tamara Qaisieh, Account Director
Client |
Arwa Alabdulkarim, DGDA, External Communications Manager
Mohammed AbuZaid, DGDA – Marketing Manager
Awards | 2025 MENA Digital Awards – Crafts – Animation
This project was one of the most challenging project I’ve come to work on this year. And despite the difficulties… It was quite fun! The illustrations given were picturesque and drawn in the style of a water colored painting. The task was to make this come to life. Bring in depth and make the characters move. To this note, I’ve drawn inspiration on how Webtoon.com animate their ads.
Below are the most pivotal methods used to make these things possible.
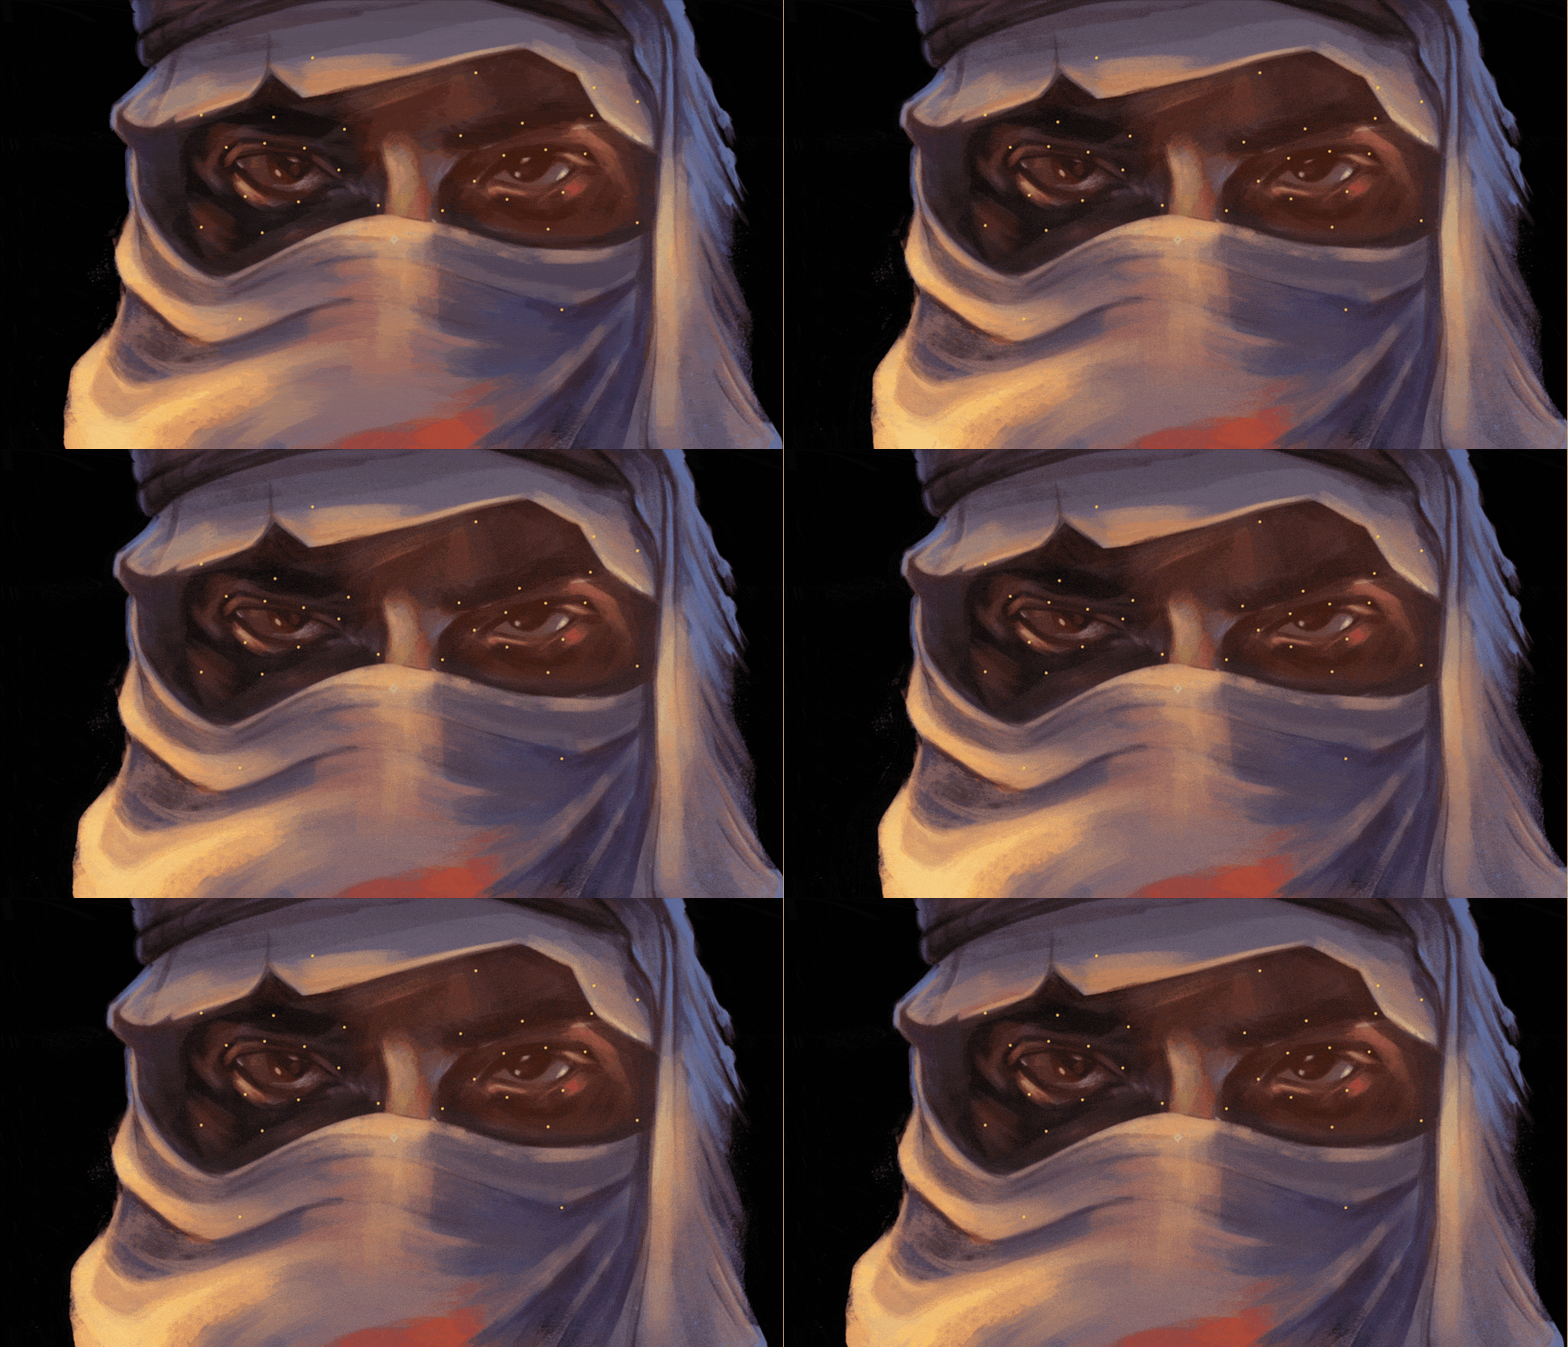
The animation of the characters were made possible through two ways. One, bruteforcing the animation by just using the puppet pins/tool, and two, creating rigs using BaoBones and DuIK.
Most of the character’s clothes were animated by just animating the puppet pins. Individually animating each pin and then looping them. In the case of character movements, I’ve simply used BaoBones with DuIk as support. The usual method was to create a rig through the extensive tools of DuIK. However on this project, I’ve BaoBones because of its ease of use, especially when you are on crunch time. Also, from my opinion, BaoBones seems to have a better output when rigging a composition. It’s non-destructive compared to DuIK.
The next thing to do was to add depth on each scene. My usual approach in adding depth to scenes is to go to Cinema4D to do a camera projection. And, it would have probably taken longer to setup as I’ll need to adjust the 3D object’s polygons. But in this case, it was not possible as I didn’t have any license to use the software for this task and we have limited time. However, I found an alternative in the plugin, Face 3D.
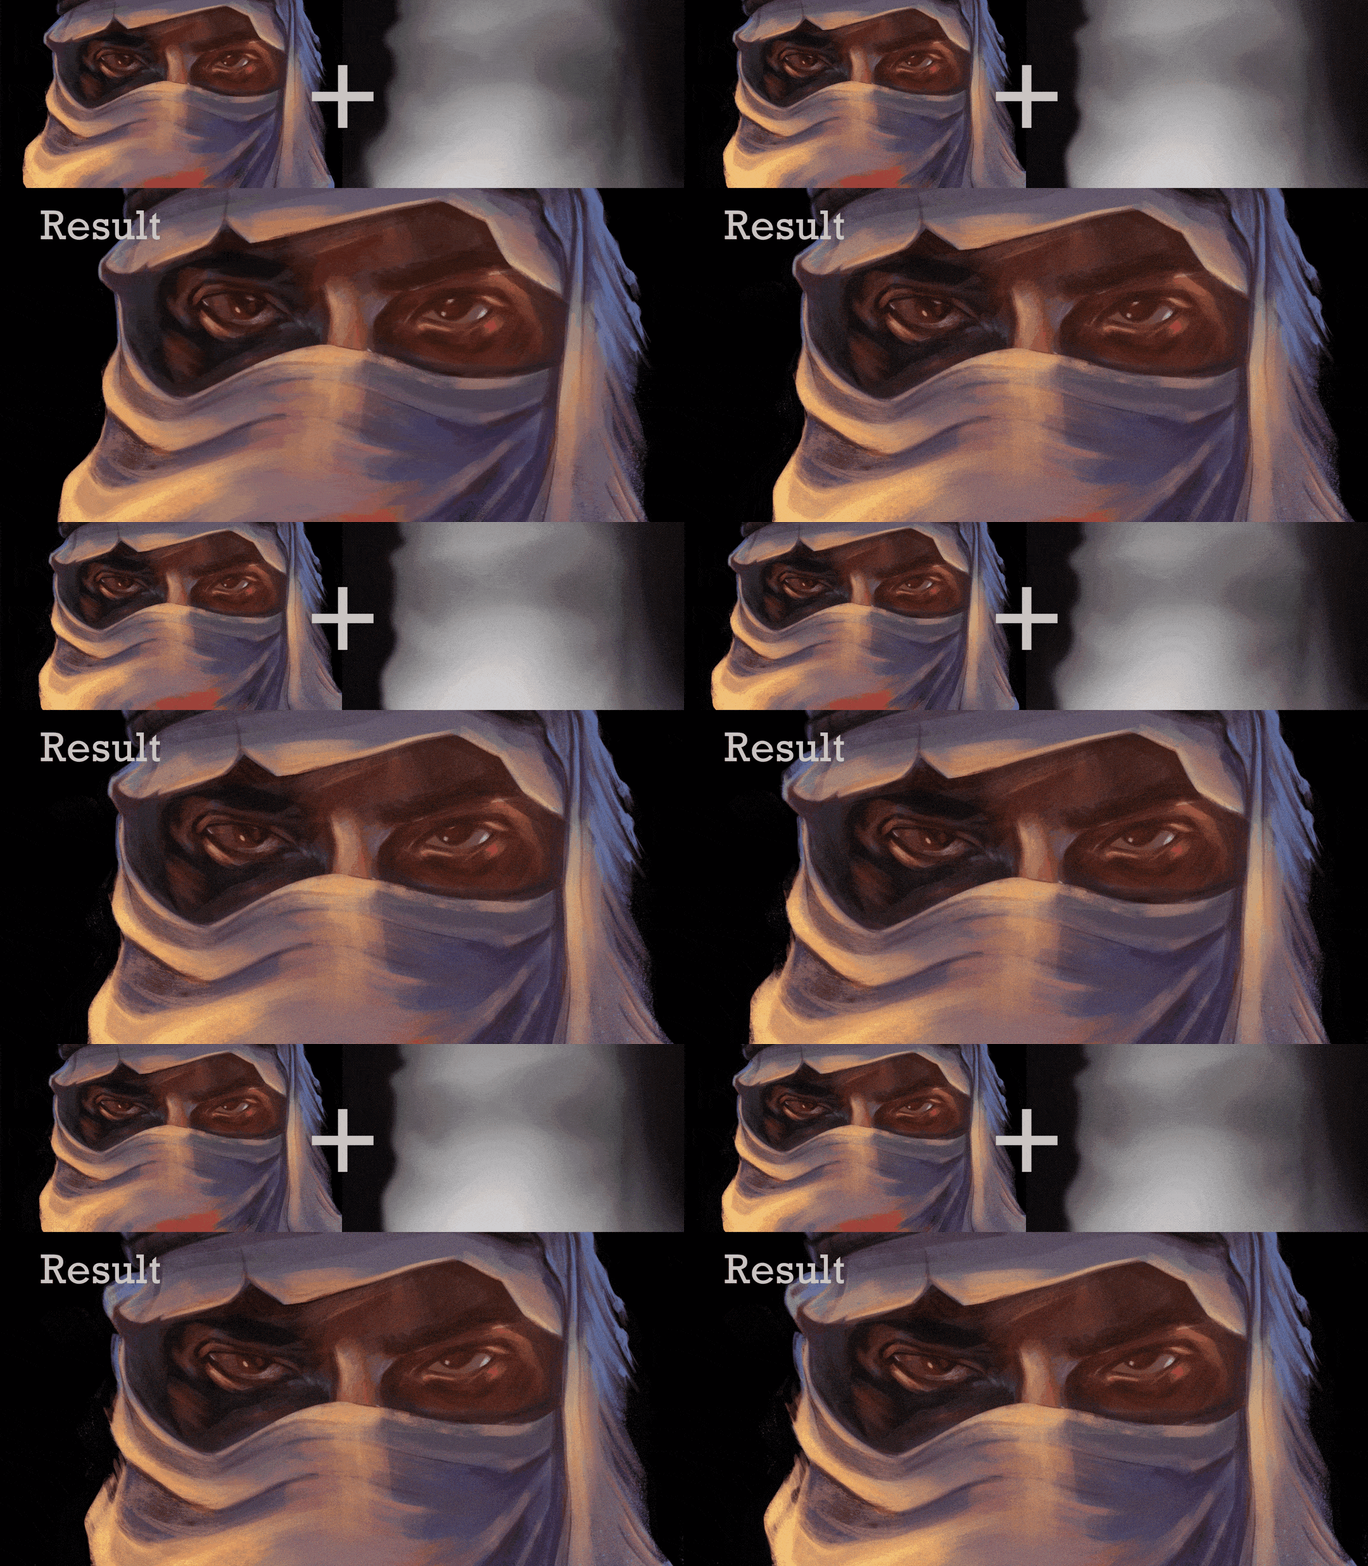
Face 3D helps me convert plain image into a 3D object in a similar way a projection mapping does through the use of a depth map.
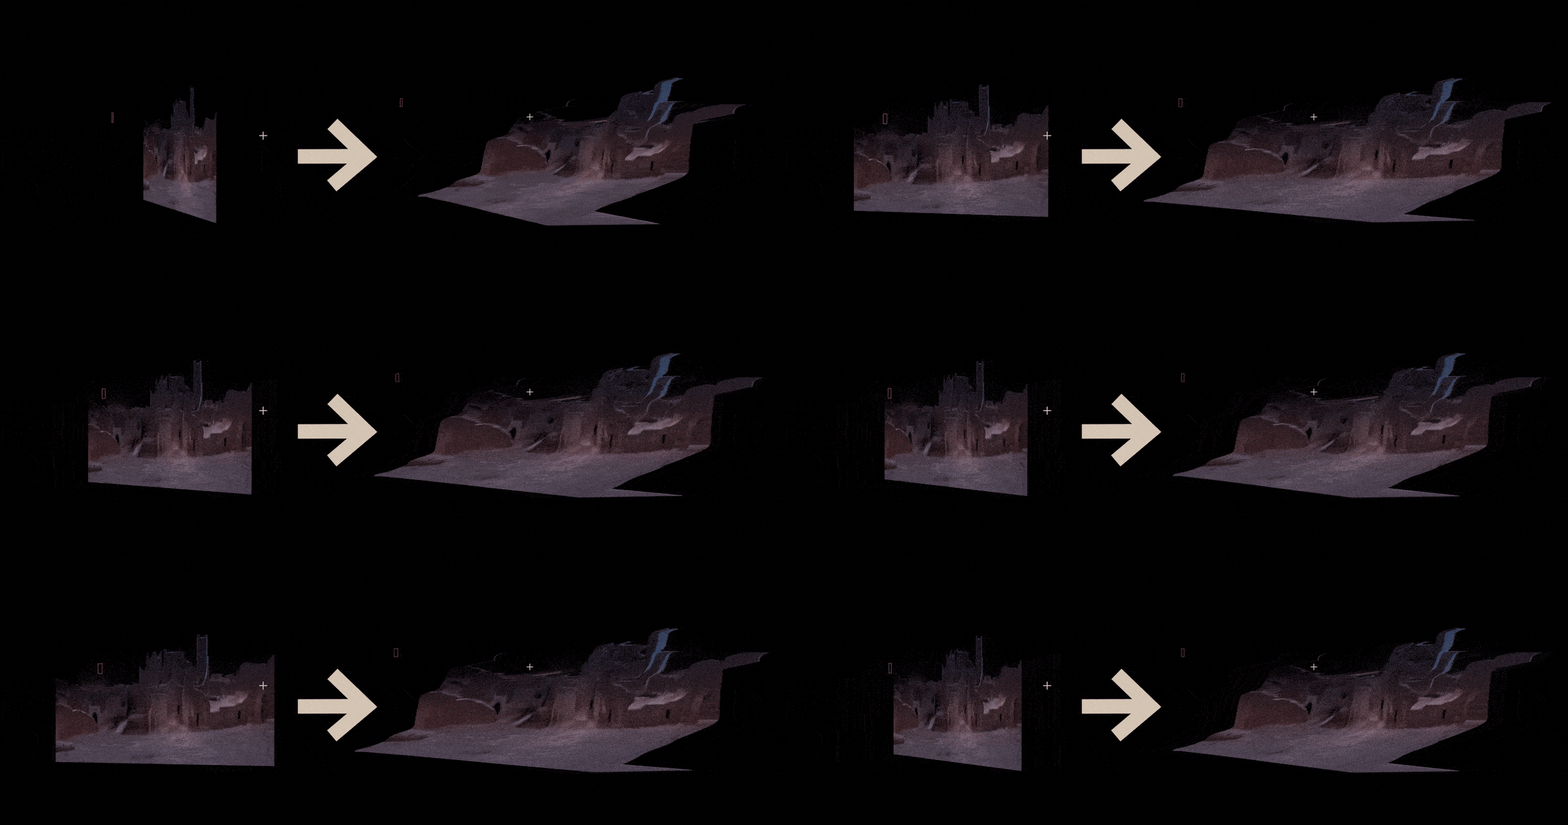
Another way I added depth to some of the frames were through the effect Displacement Map where you point to a Depth Map. If you look at below were the base combined to the depth map I’ve produced through 3D Scanner. The result created a pseudo 3D look
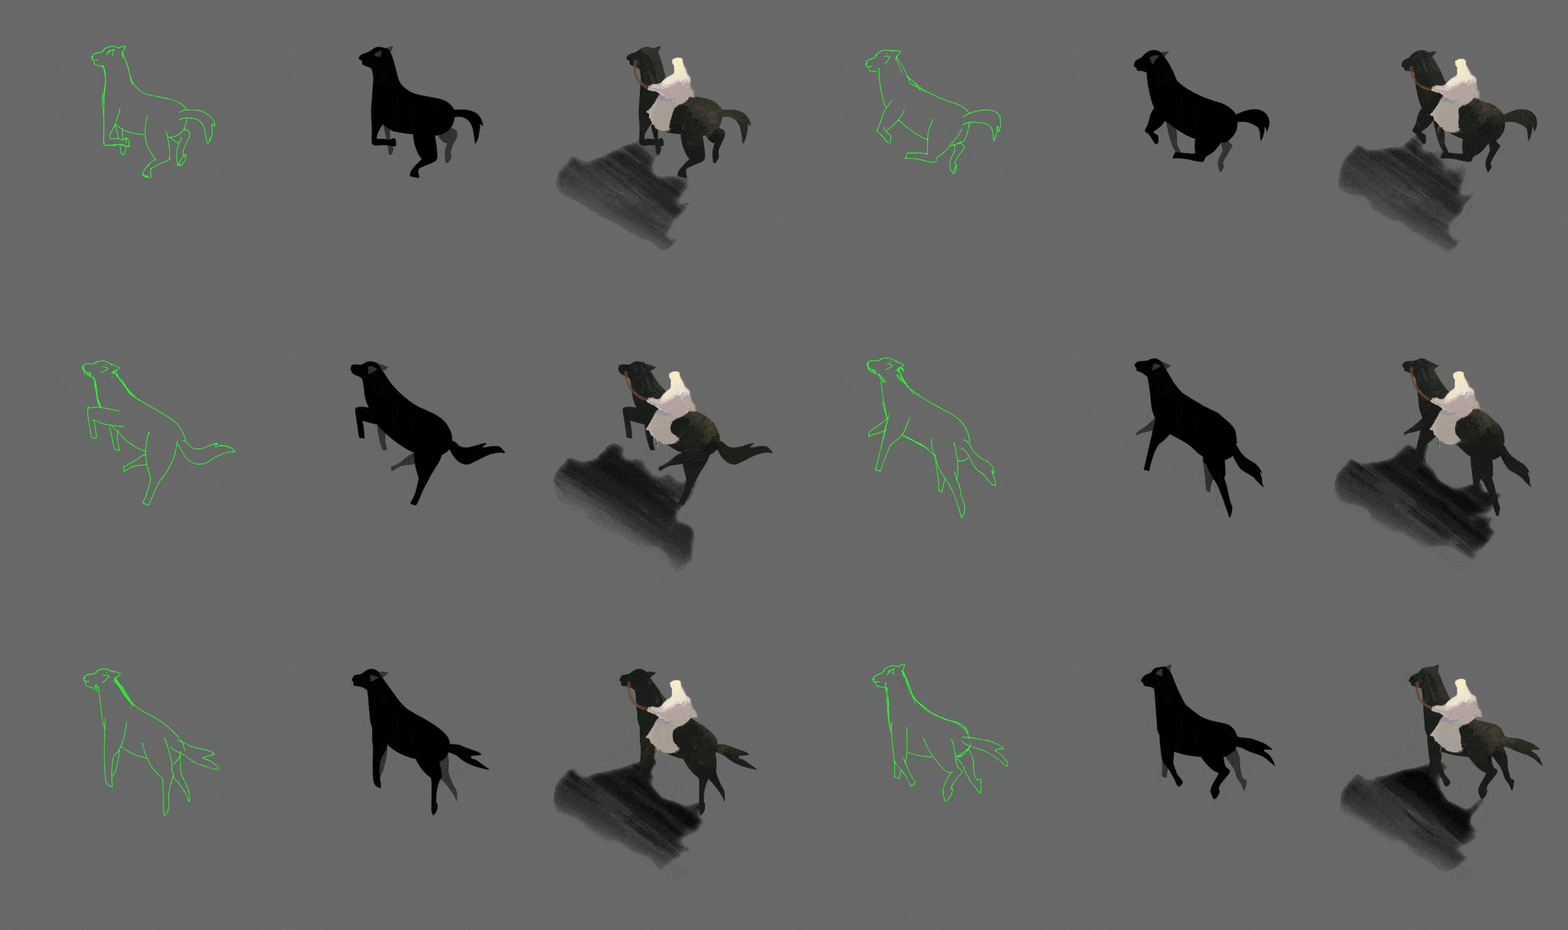
To add a little more dynamics onto the video. I’ve included frame-by-frame animation to selected sections.
In the case below, in the section where minimal movement would look really out of place. For this example, where the horse is far away and needs to be seen running.

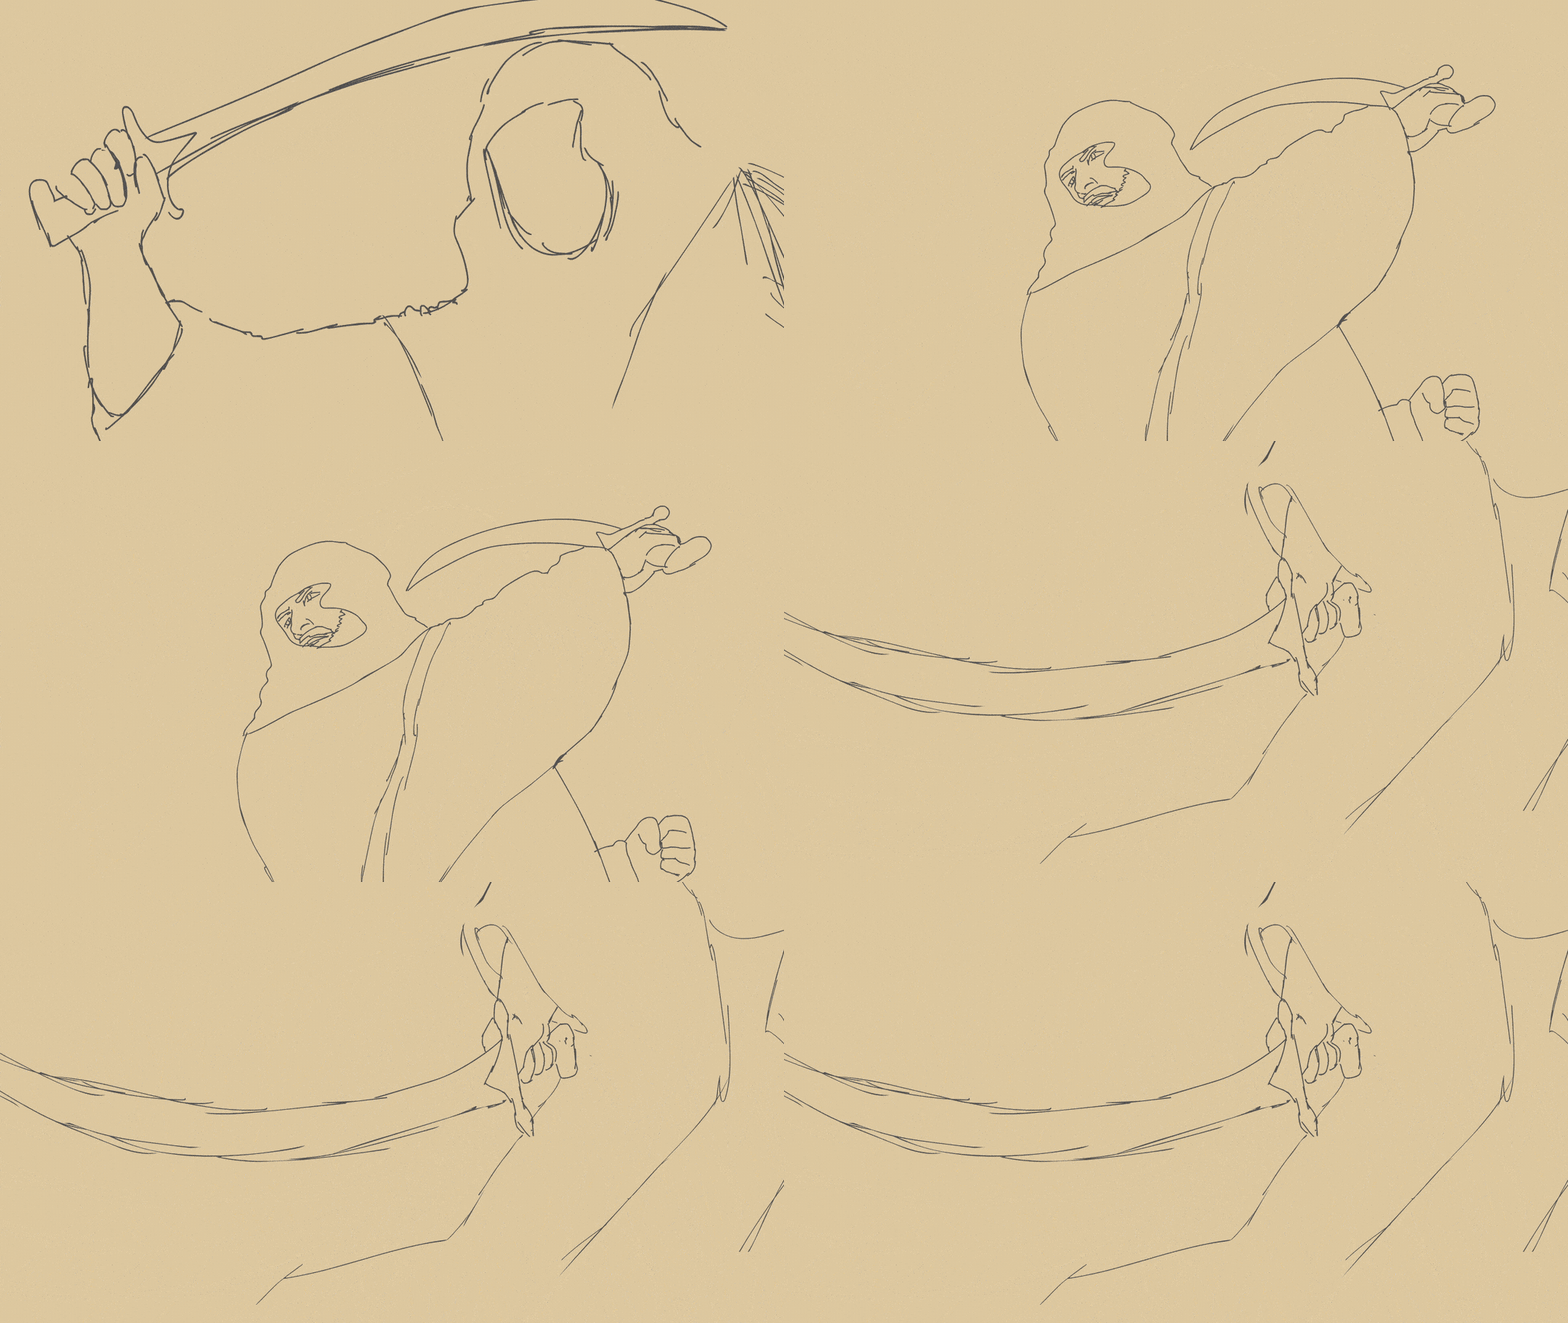
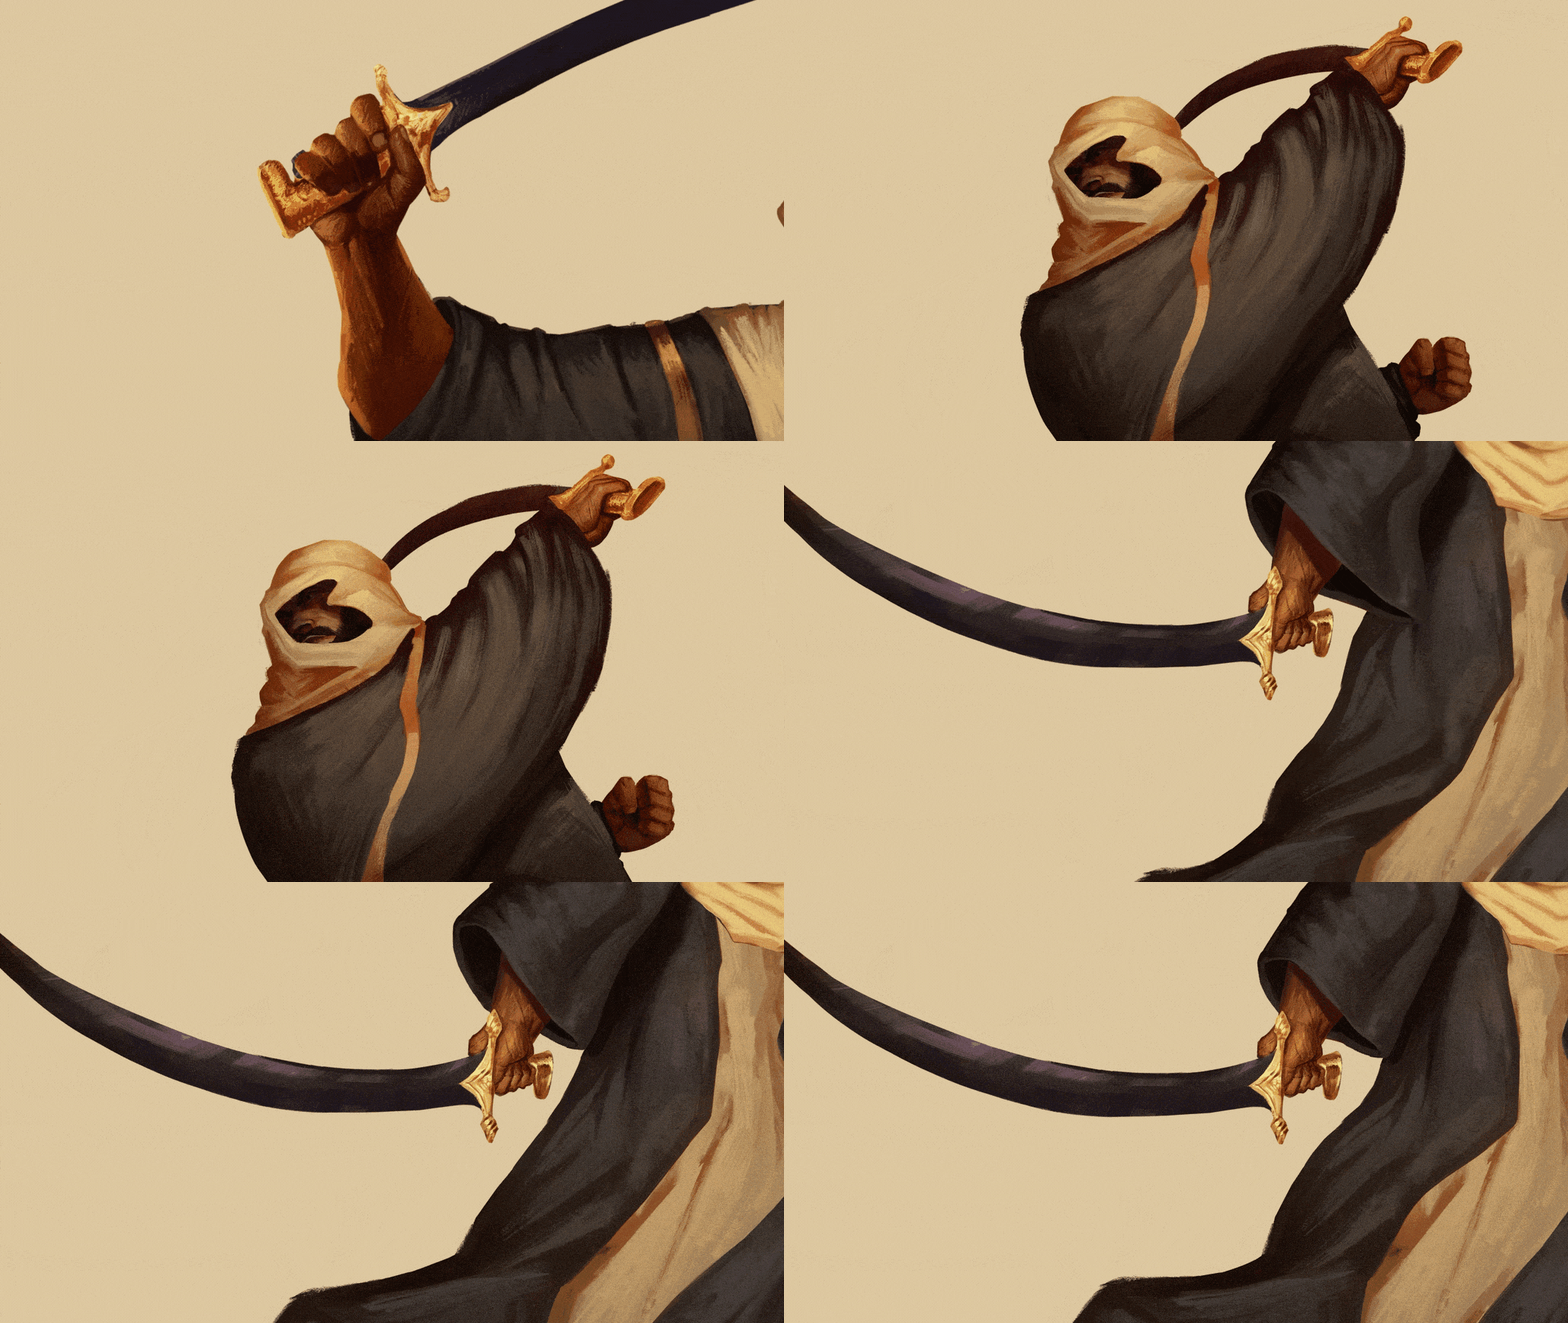
Frame-by-frame was also used as a transition to connect different rigs. In the gif at the left, the blue line frames are the added transitions. These were not included on the added illustration. It was manually added through the use of photomanipulations of existing assets from the given illustrations.
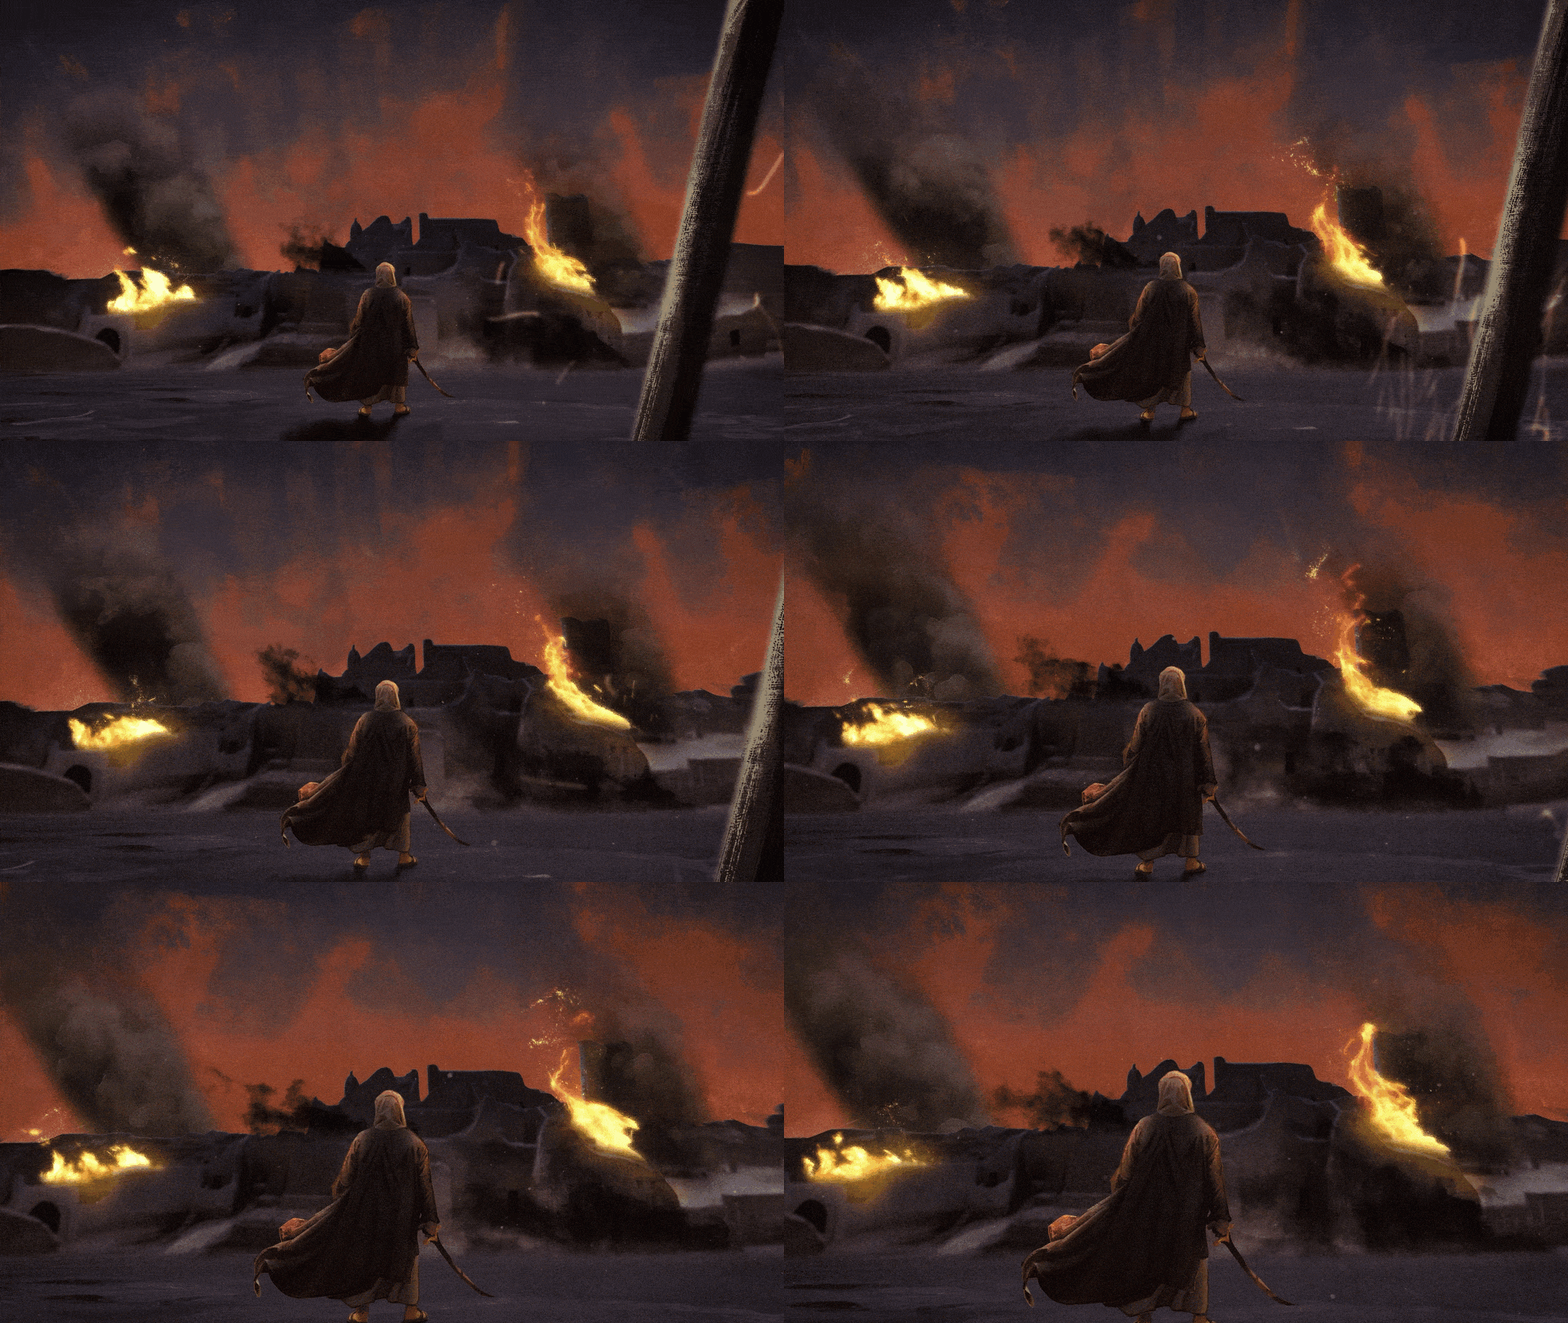
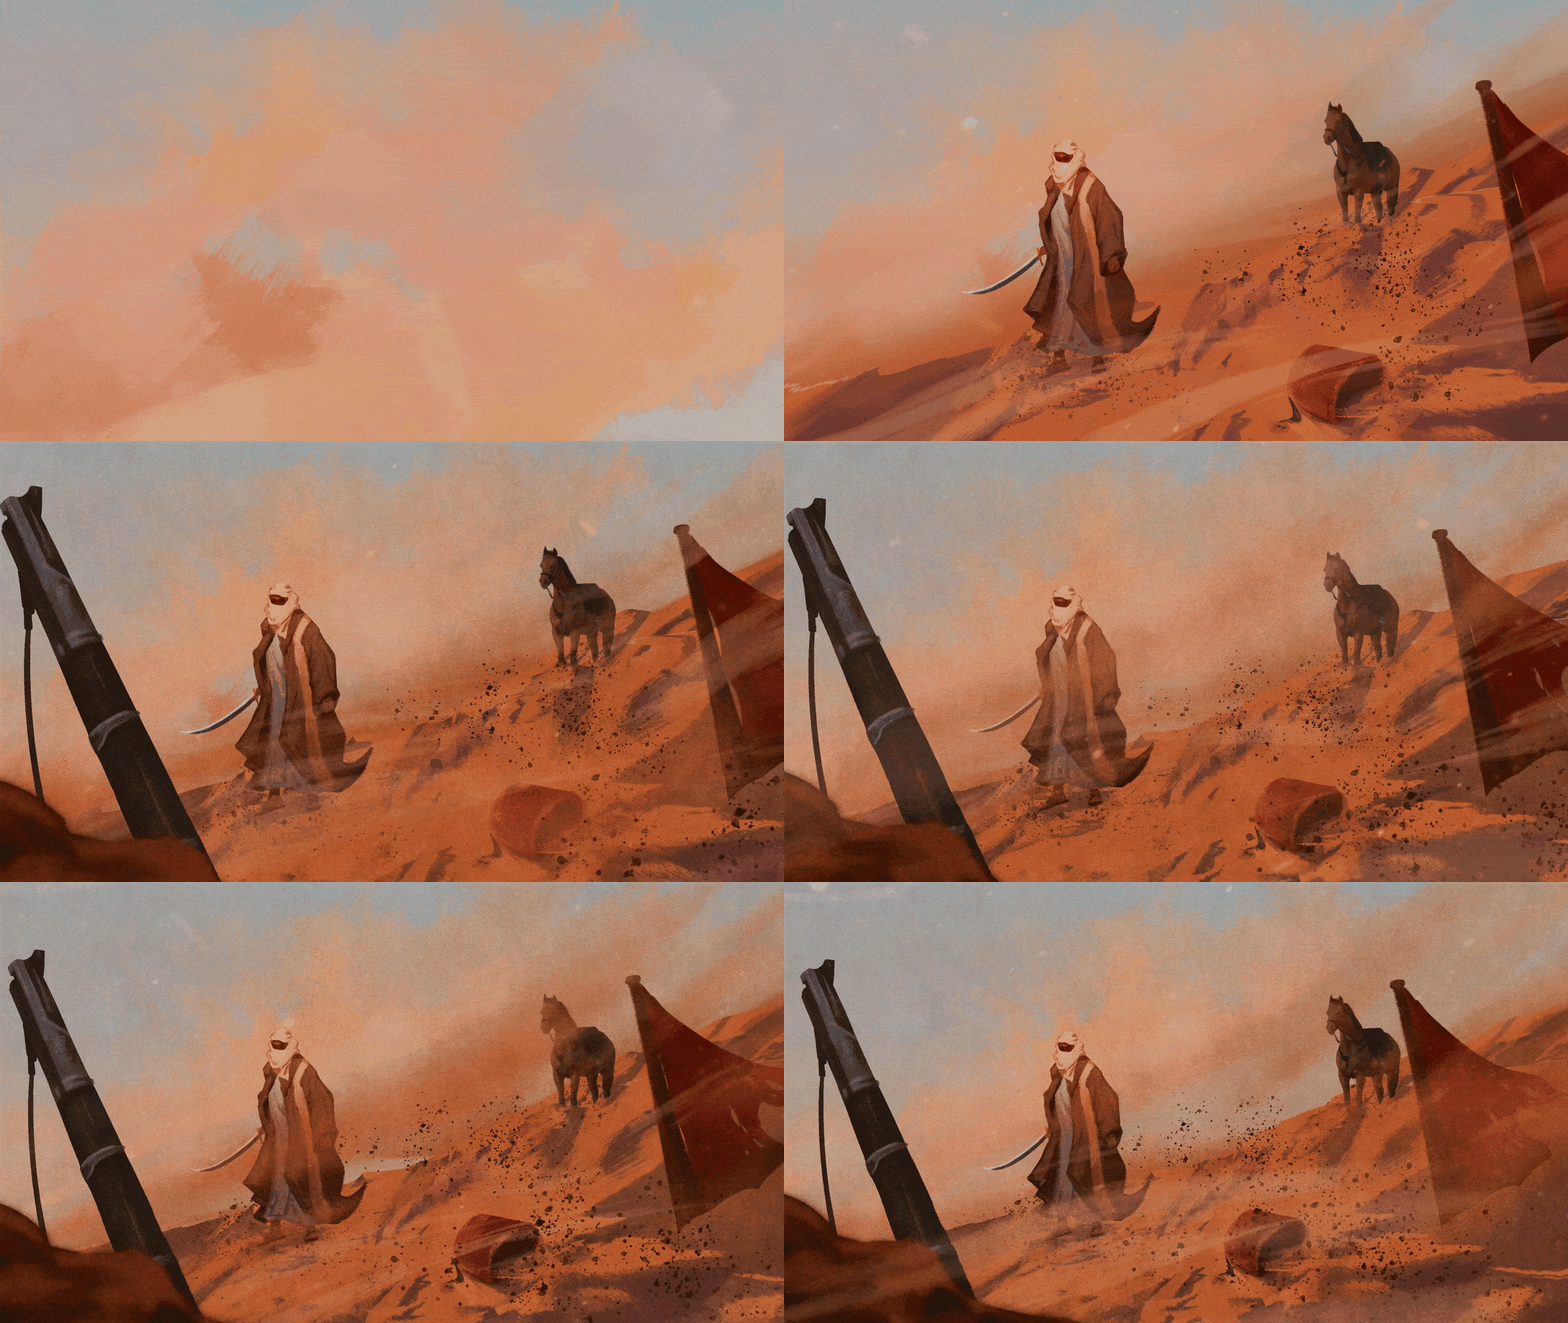
I’ve also added in multiple assets/footages like fire, dust and wind effects to add more to the scenes. At this point, it’s just a matter of taste of combining these multiple assets.

I would also like to mention how very useful Content aware in after effects and the Generative Fill in photoshop in creating this project.
Just an additional video content, with similar styles, where I also worked as animator for the same client account for our team at Create. Group.